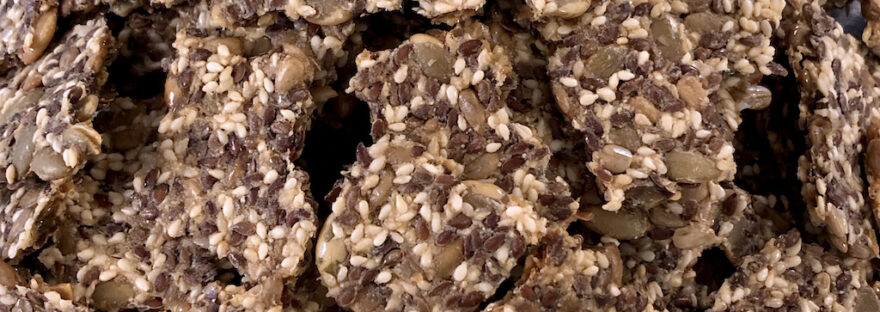
I always assumed crackers were only to be bought, not made. But when I saw these Norwegian crispbreads in a friend’s pic on InstaGram, I had to at least try ‘em. And with some GF advice from a friend, these incredible crackers you make at home turned out Whole30 compliant as well!
Of course, if you’re on the Whole30, you have to watch what you put on ‘em. Or you might need to pass if crunchy is your food struggle (it can be mine…though crispy is more likely than crunchy and YES, there’s a difference). But for a party once in a blue moon, these are a great option, and EVERYONE raved!
Norwegian crispbread (Gluten-free seed crackers) (for original recipe, click the title)
Now you know I’m always changing up recipes, and this one was no different. Corn in particular has given me joint problems, so I wouldn’t even consider the cornstarch it includes. Instead, I called my gluten-free baker friend to ask if maybe cassava flour would work and what quantity to use. (Remember, I’m more the cook than the baker.)
She thought that would work great and said to just make a straight swap for the cornstarch. Easy, peasy. So, that’s what I did, and the recipe totally worked! I couldn’t believe that little bit of flour, oil and water would hold all those seeds together, but they did.
The full recipe renovation
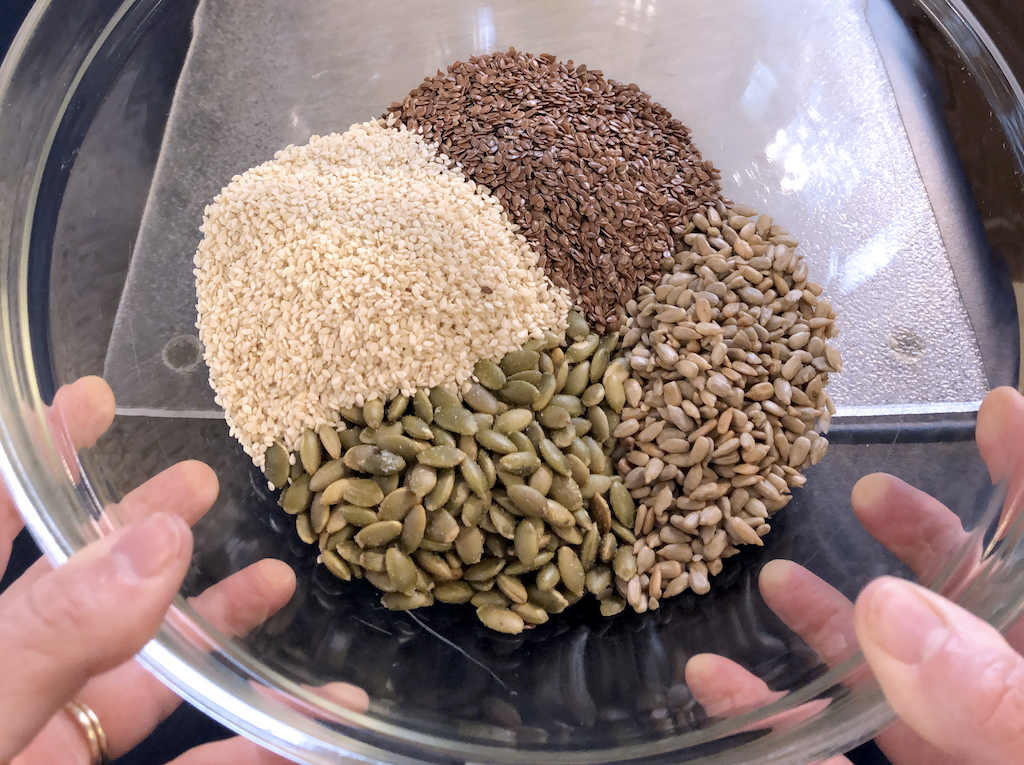
- 1/3 c sesame seeds
- 1/2 c flax seeds
- 1/2 c pepitas (the green pumpkin seed kernels – mine were roasted salted)
- 1/2 c sunflower seeds (mine were roasted salted)
- 1/3 c cassava flour
- 1/2 tsp salt (I didn’t use quite this much since my seeds were salted)
- 3-1/2 Tbsp olive oil
- 3/4 c boiling water (I super heated it in the microwave)
- 1 tsp Everything Bagel Seasoning (suggested by my IG friend but I forgot to add it…you could just sprinkle it on top before baking as well)
Preheat oven to 275 degrees and line a half baker’s sheet with parchment. (Because my parchment wasn’t quite as big as the bottom of my pan, I did put a little olive oil on that empty side…that’s what soaked into my parchment. Turns out the dough didn’t spread quite that far.)
Mix seeds, flour and salt together in a large bowl. Stir in oil and water until well mixed. Let is sit as is for 10 minutes.

Pour “dough” out in the middle of the parchment. Start pressing from the center outward and just keep pressing until it almost covers the pan. Try to keep it an even thickness throughout.
Bake for 90 minutes, then cool for a bit. When it’s cool enough to move from the pan, lift the parchment out onto a cookie drying rack to cool completely.
Carefully break into cracker-sized pieces. I did this over a floursack towel just to make sure none got away!
The hardest part was…
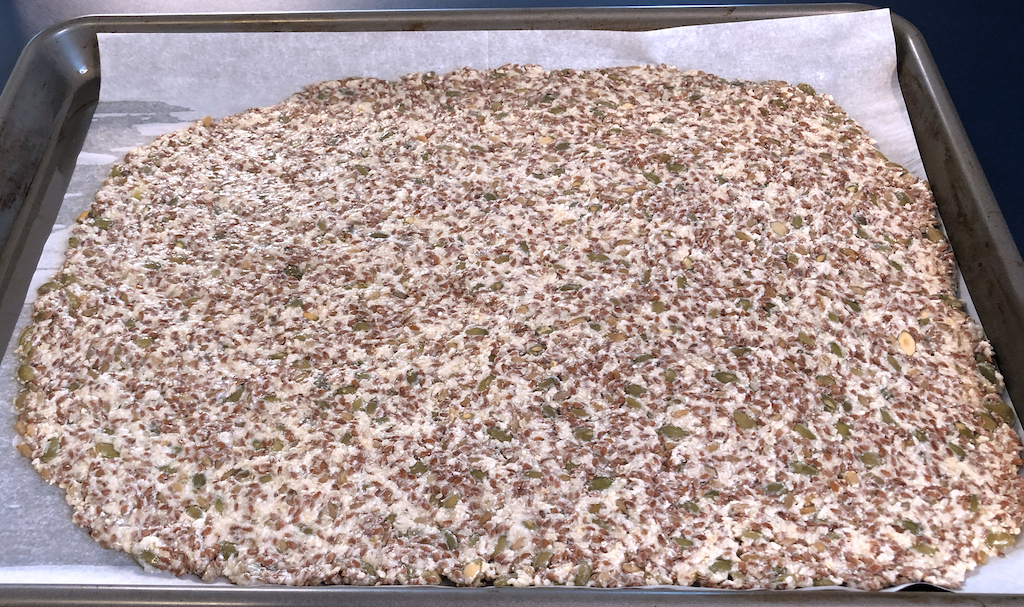
…flattening it out on the baking sheet. I thought there was no way that dough would cover even half of my pan. But you see how far it went.
Of course, with a 90-minute cook time, you’ll need to be prepared to stay with it. But I just popped it in and went on with my day.
One incredibly big cracker
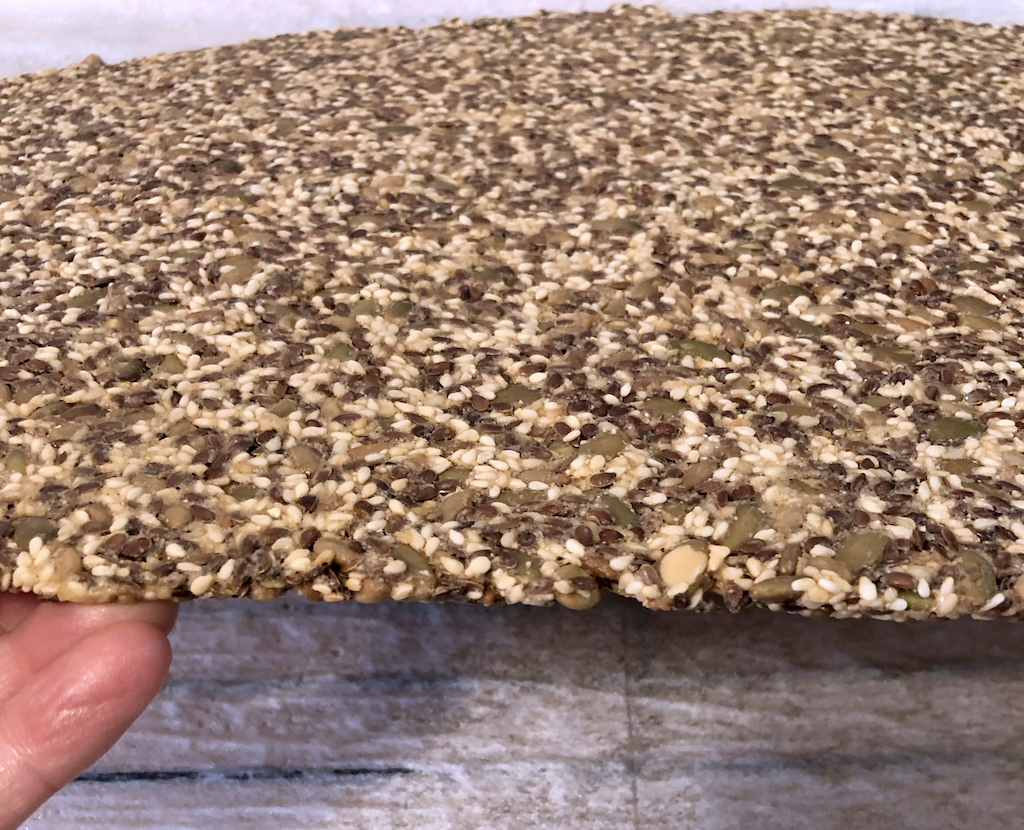
Maybe I enjoyed this too much but picking it up as just one piece was too fun to pass up! To share with friends, of course, I did break it down into chunks. I only had one tiny spot that I know got too thin. When I broke it there, about a half inch just crumbled to bits. Otherwise, it turned out pretty uniform in thickness (much to my surprise).
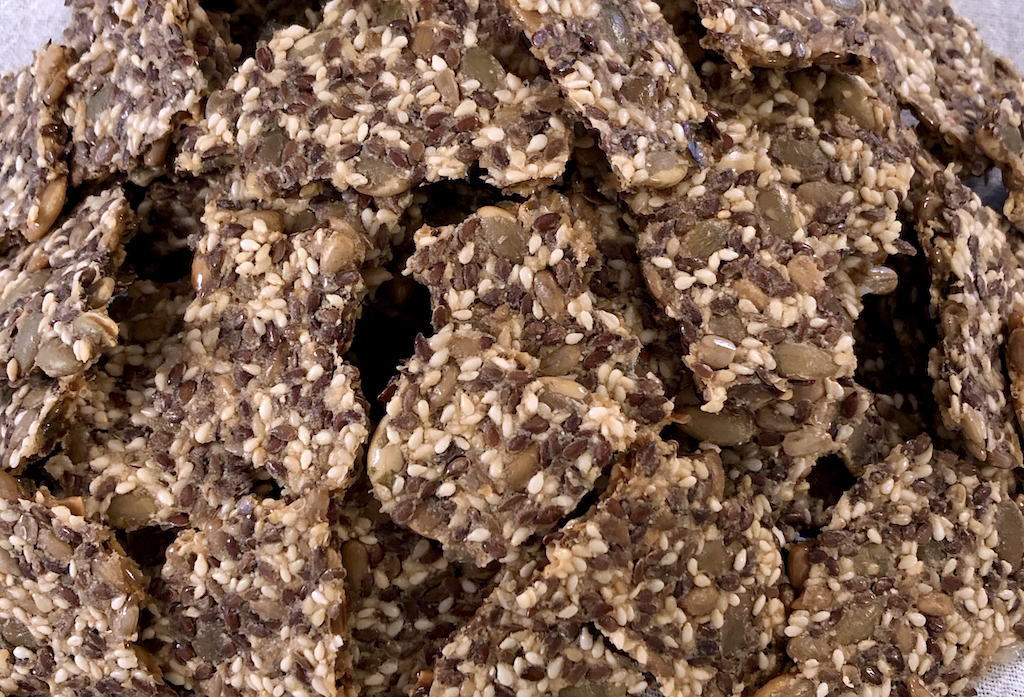
The hit of the party!
Folks at the party I attended had to be munching in the buffet line since 5 of them asked for the recipe BEFORE they even sat down. I’d call that a success! And they were super excited to know it was so healthy and easy to make, too.
If you like seeds, this is a must-try recipe for you. I’d love to know your results and what you serve with ‘em (I paired mine with roasted carrot hummus – see all about that here). Let me know in the comments below or tag me with your pic on InstaGram! (@missmelliecooks)

