While chips are often a dangerously addictive snack, there are times when I just really need a good crisp crunch. No, carrots don’t cut it…though English cucumbers come close. I don’t care for water chestnuts (pretty much no taste) or jicama raw (a strange, sweet flavor that’s not my thing). Imagine my excitement when my daughter shared an Instagram video from @blogilates on how to make the ultimate “chips” yourself!
Yes, the video made microwave potato chips. BUT with a little experimentation, I found you can make “chips” of a sort from other things! I love a method that can be adapted for different ingredients (see “kitchen sink” meals here)…just adds more variety to my diet. Let’s look at this method and how you might conquer making the ultimate chips at your house.
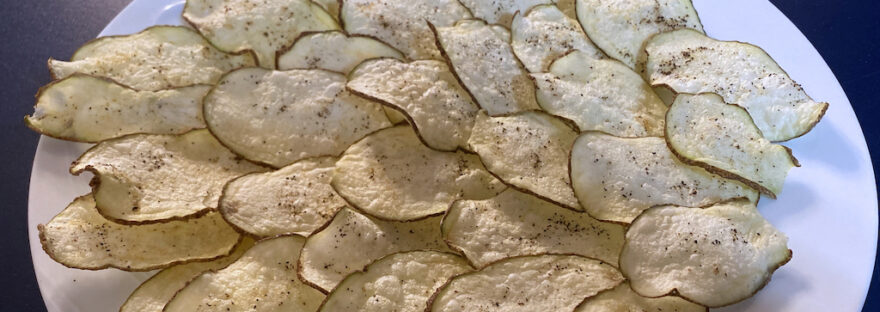
Microwave Potato Chips
(from the @blogilates Instagram video then adapted with help from my daughter and her best friend to fit our 1200-watt microwave)
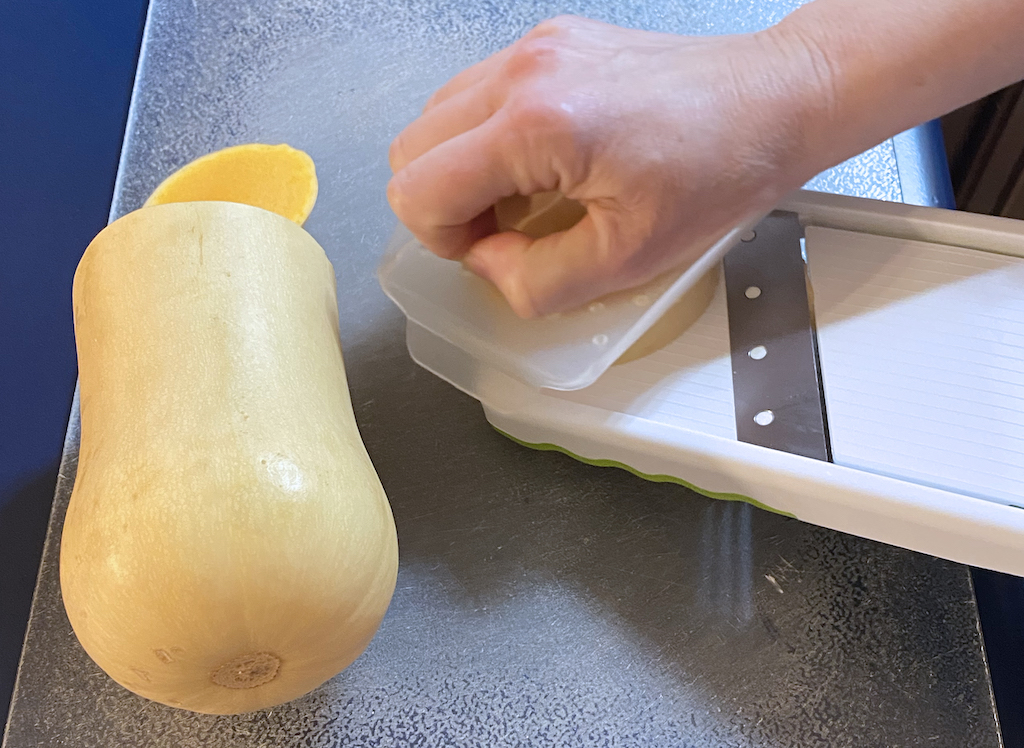
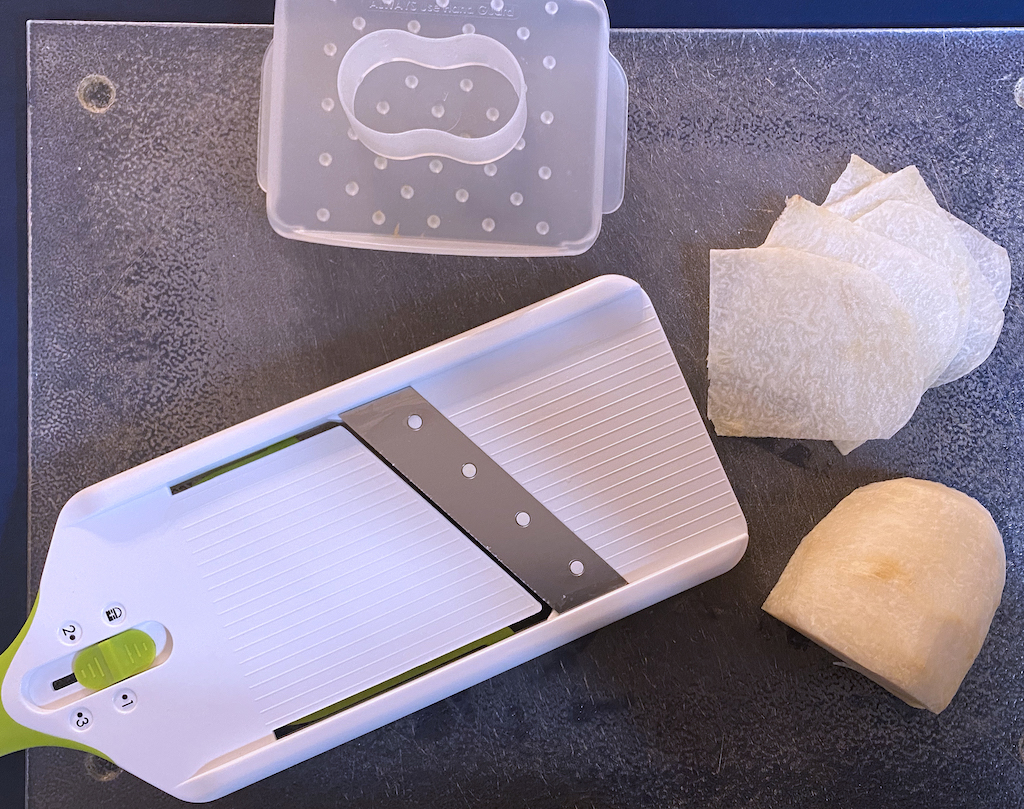
Slice russet potatoes as thin as possible (mandolin slicer setting #1). Soak in salt water for a couple of minutes (my addition so they don’t turn brown from oxidation).
Line salad plate with waxed paper (outside ones on a dinner plate didn’t crisp up for me so I just use salad plates). Dry potatoes by laying out on paper towels, then dabbing the tops as well. Lay out on waxed paper.

Spray slices with olive oil spray and season to your liking (we like salt, pepper, and garlic powder best).
Microwave for 90 seconds on High. Open the microwave door, allow chips to cool about 2 minutes, flip, then microwave again for 90 seconds, watching in case they start to burn.
Enjoy hot or cold – but know they will be crisper if you can wait for them to cool.
How to test making chips in your own microwave
Start with the basic recipe but stay nearby (not right in front of it…you know, microwaves and all) to watch the color through the window. If they start turning dark in the middle, they are starting to burn. Stop the microwave and note how much time you used. That’s where you’ll start on the next batch. Often, they don’t do it on the first side but can do it pretty quickly on the second side.
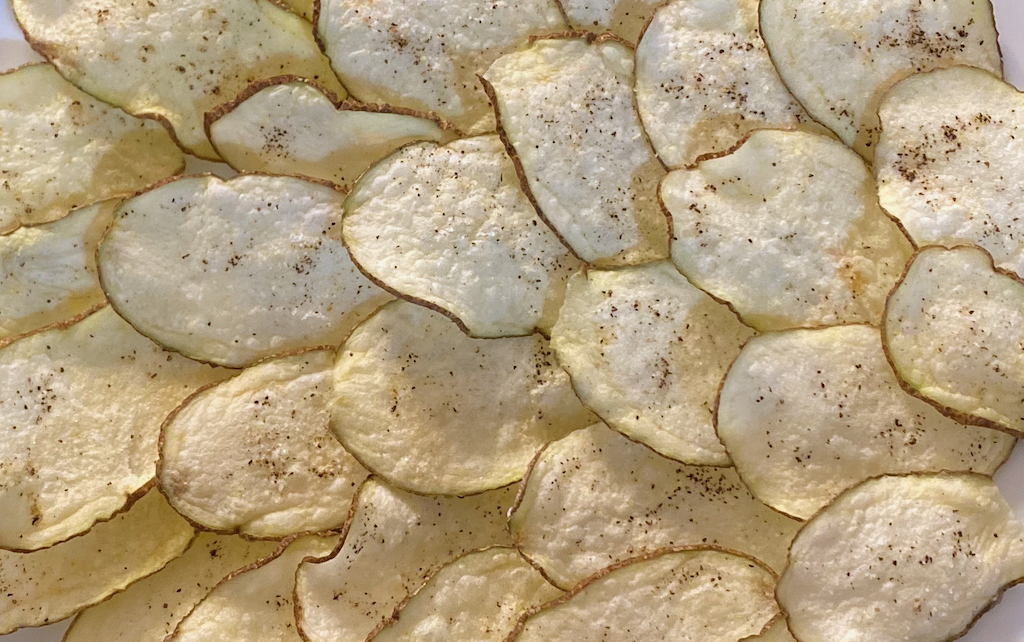
When they’re finished on both sides, test for that crispy crunch. Did you get it? Yay! If not, no worries…just means you need to try again. Adjust time up for a little more crunch if you didn’t get it. Adjust time down for less browning (sometimes the ones in the middle of the plate burn for me…just leave those off if that happens).
Use small to medium-sized russet potatoes – my slices were about 3.5-4 inches long and 2 inches wide). We cut them so thin on the mandolin slicer, they made a LOT. But that’s great for testing because you can adjust per plateful. Your plate will get really hot; so, consider using two and switching them out for each different test batch. And keep your oven mitts nearby.
We probably made 8 test batches before we got the perfect crispy crunch without burning them…and yes, we ate ALL the test batches, and they were all awesome tasting. We were just after that crunch!
What other veggies can be chips?
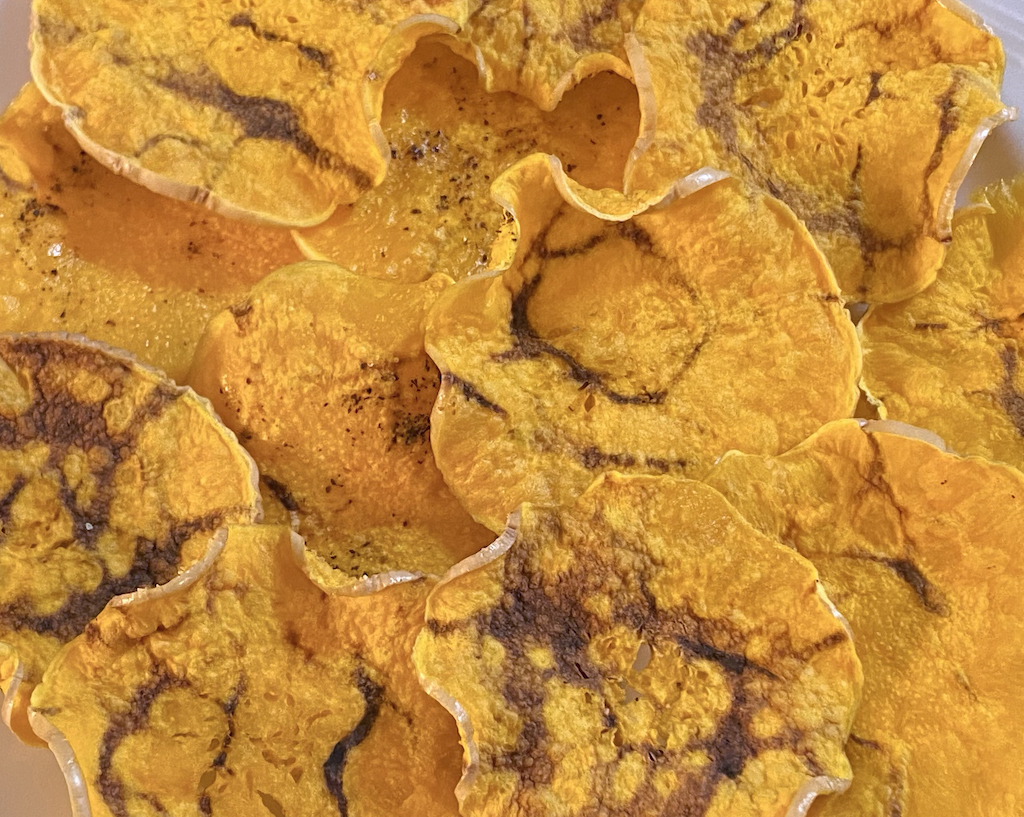
I’ve used butternut squash and jicama both with tasty results! Neither got quite as crispy as the russet potatoes BUT the squash ones were reasonable once they cooled. Jicama has its own kind of crunch anyway so I liked both. Still tweaking sweet potato chips as we just haven’t gotten sufficient crunch yet. But yes, each one takes a little bit different timing. Here’s the times I have for my 1200-watt microwave.
Butternut squash 90 seconds then 75 seconds
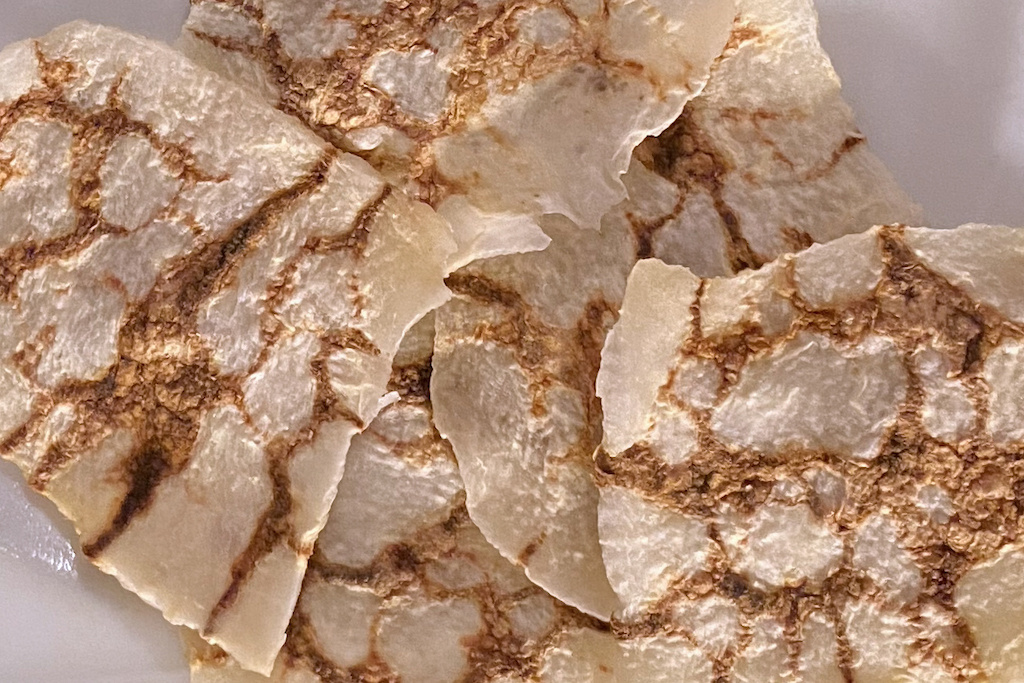
Jicama 90 seconds then another 90 seconds
Keys to better chips
I have found the temperature and humidity of the day can affect cooking time and crunch. So, I’d suggest staying nearby and watching closely plus adding more time if you pick one slice up and can tell it’s still “floppy” at the end of cook time. The first time I made the potato chips (in December), they cooked 105 seconds per side. Squash chips last week were 75 seconds then 60. Jicama were 90 seconds then 45 seconds. So you see there can be variation. Just be patient and enjoy the process!
The chips may try to stick when you flip them. Just carefully peel them from the wax paper, and they’ll be fine. I still think it’s better this way than spraying the paper before you begin. That kept mine from crisping properly.
What you’re looking for at the end of the first cooking time is some shriveling around the edges. They won’t be crisp yet. That comes in the second cook time.
Both the squash and the jicama get dark streaks in them. Maybe that’s because of their slight sweetness. Just watch that these don’t get out of hand.
It seems the quicker you slice, the thinner your chips. This is particularly key to getting squash chips to be crisper.
Of course, you know microwaves can be different wattages. Check the label on the inside edge of the door or the doorframe to see what yours is rated. If it’s lower than my 1200 watts, you’ll probably need more cook time. If it’s more, cut the cook time back.
If (and that’s a big IF!) you have any chips left to store, be careful to COMPLETELY cool them before enclosing in a plastic bag. Ours were still crispy the next day, but you CANNOT put them away too early, or they will not stay crisp.
Make these chips tonight!
Seriously, what are you waiting for? So much fun and tasty too…you’ll be making these “ultimate chips” again and again (they’re kinda addictive, honestly!). What other things do you think could be made into chips? List your suggestions in the comments and I’ll try them OR test them yourself and then report back here! Would love to hear about your chip adventures!